P3.2.3 – Creating mood and atmosphere

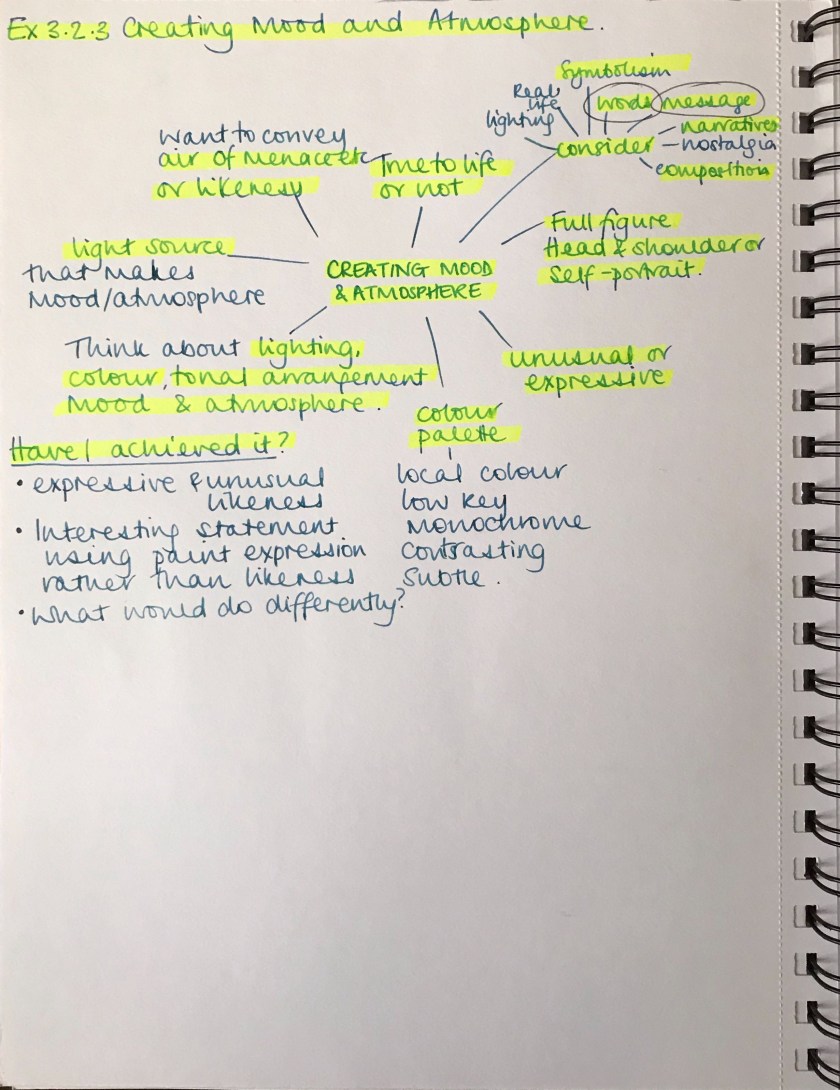
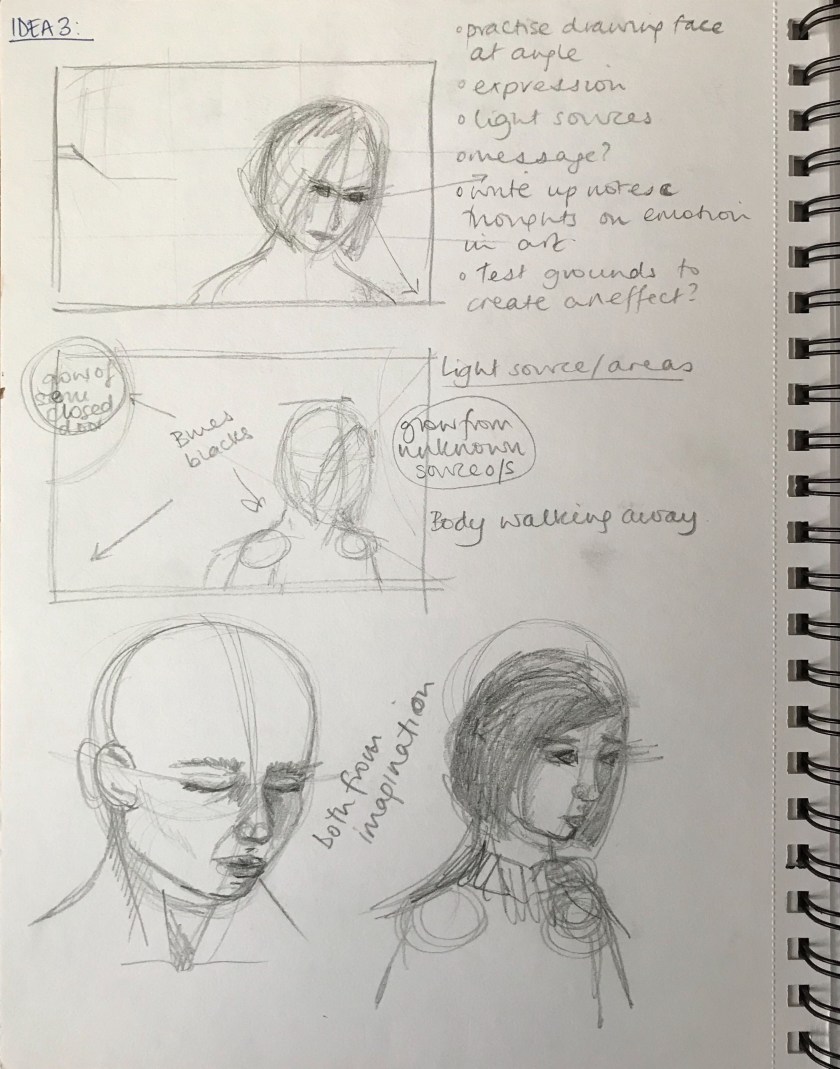
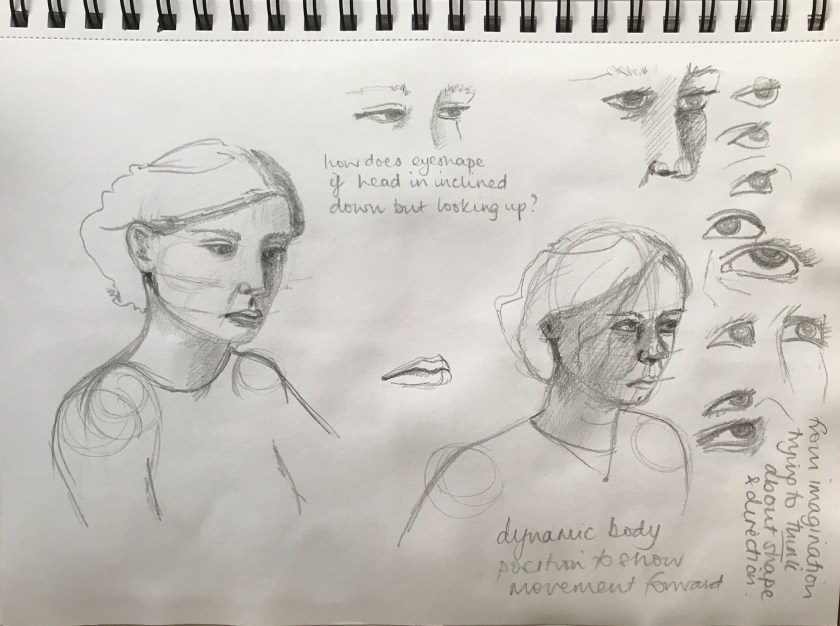
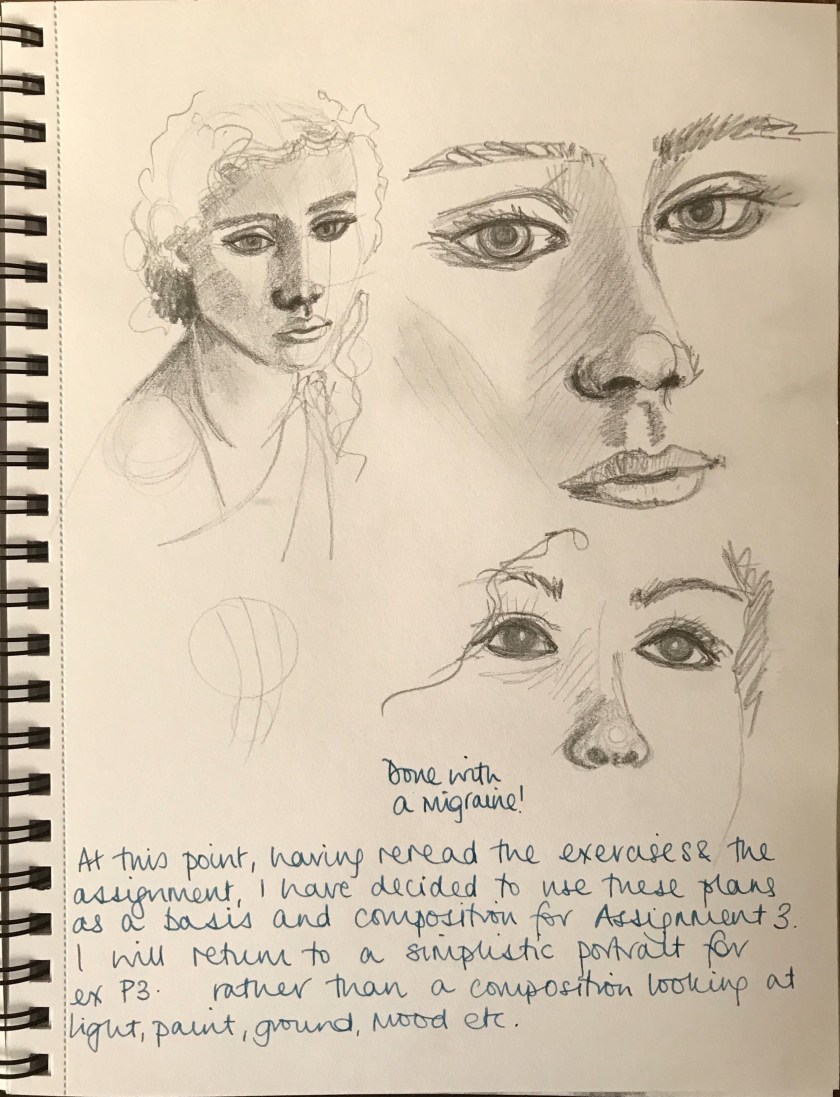
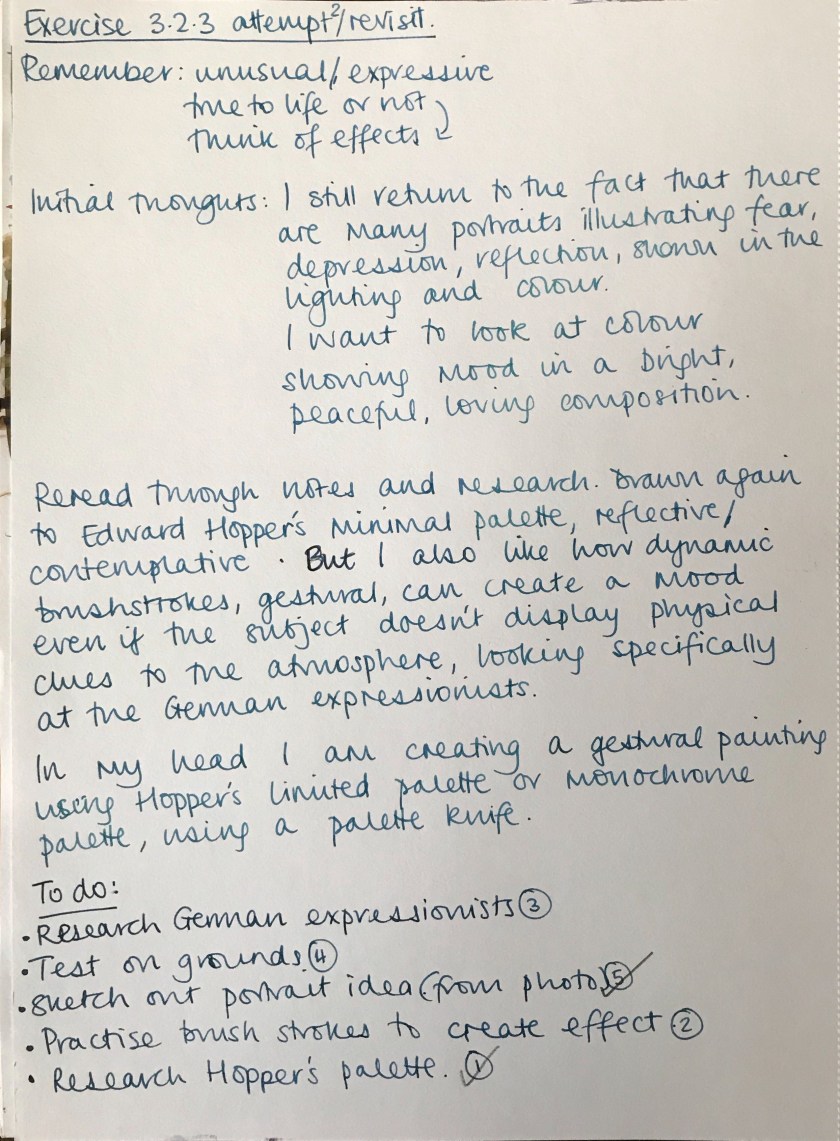
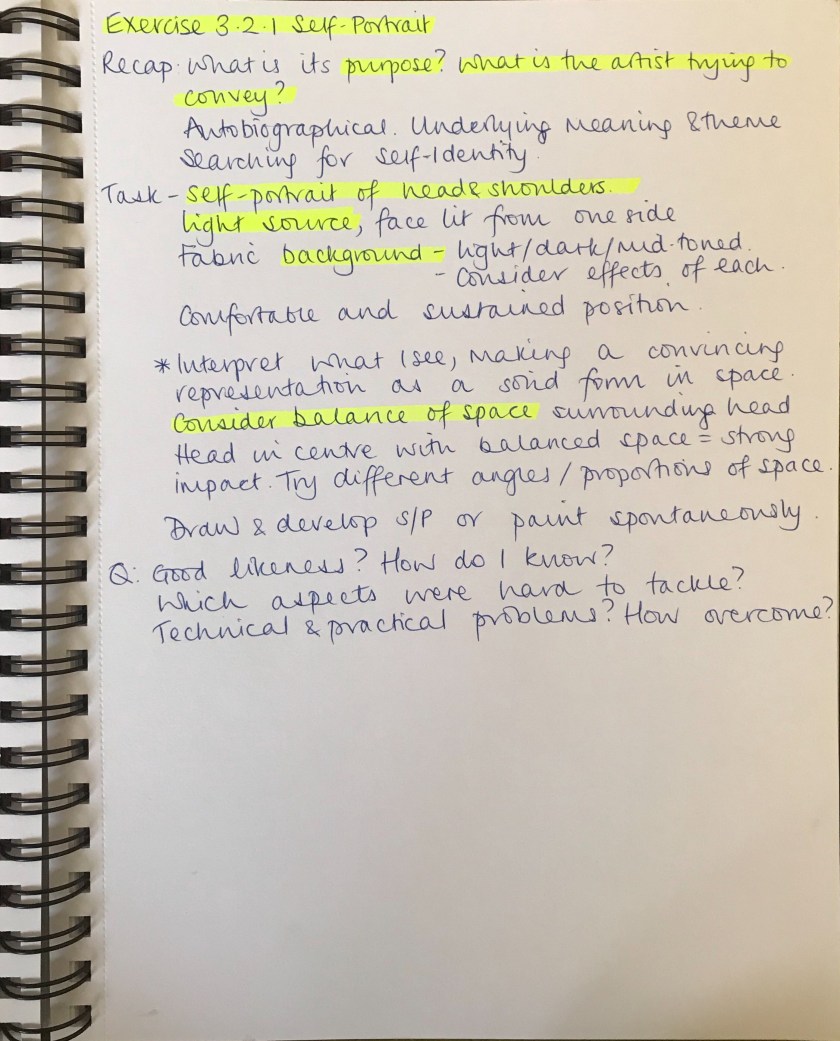
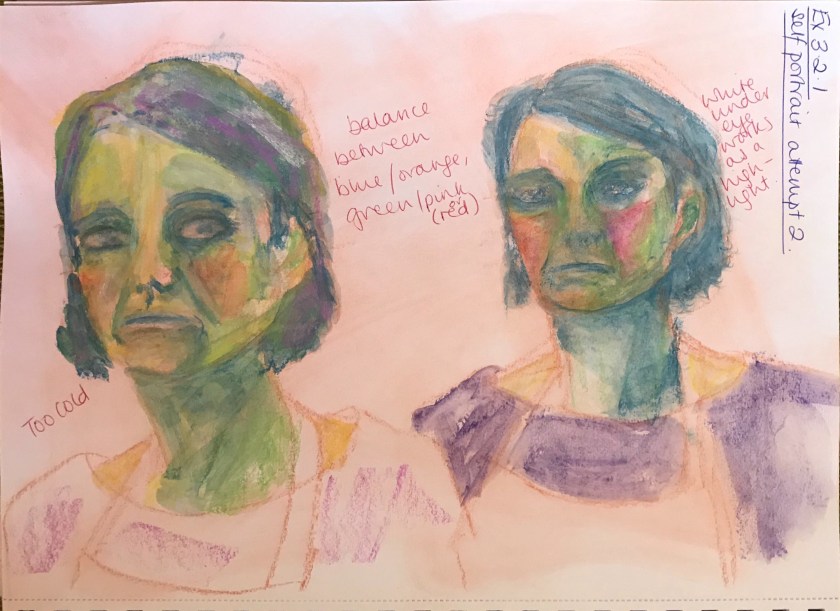
For this exercise you can choose to paint a full figure portrait, a head and shoulders portrait or a self-portrait. Your finished portrait should be unusual or expressive in some way.  It can be true to life or not, depending on the effects you wish to achieve.

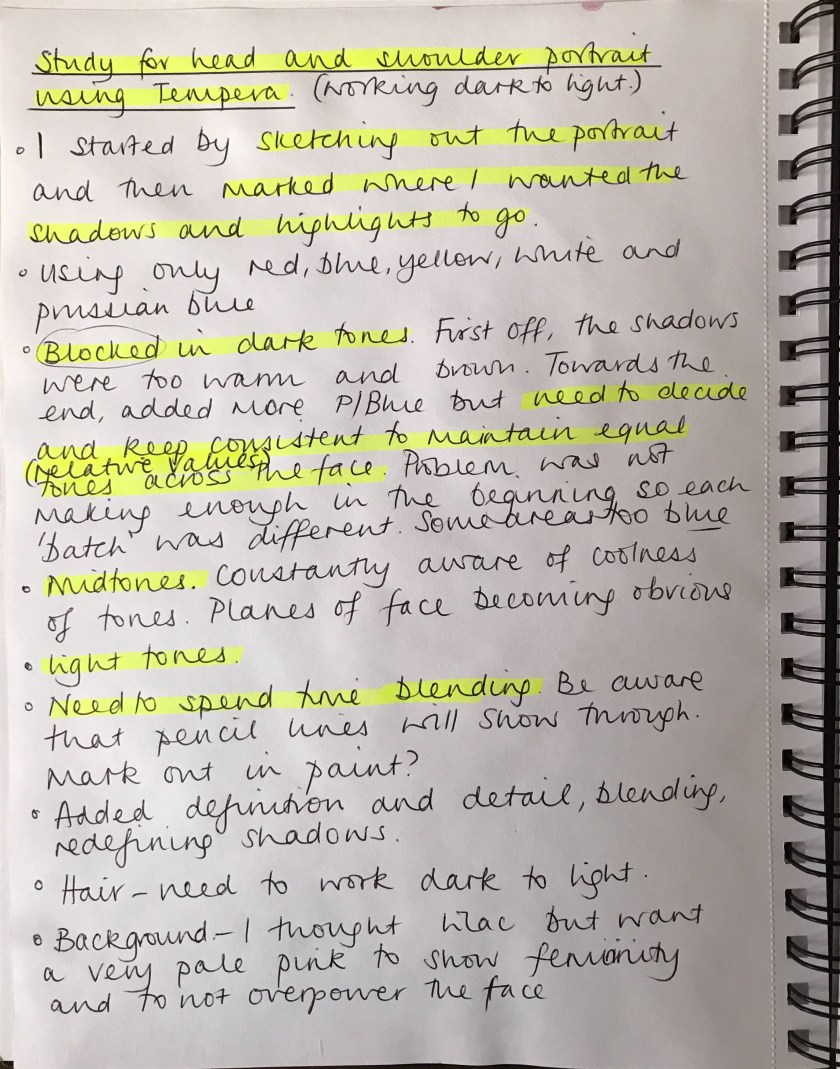
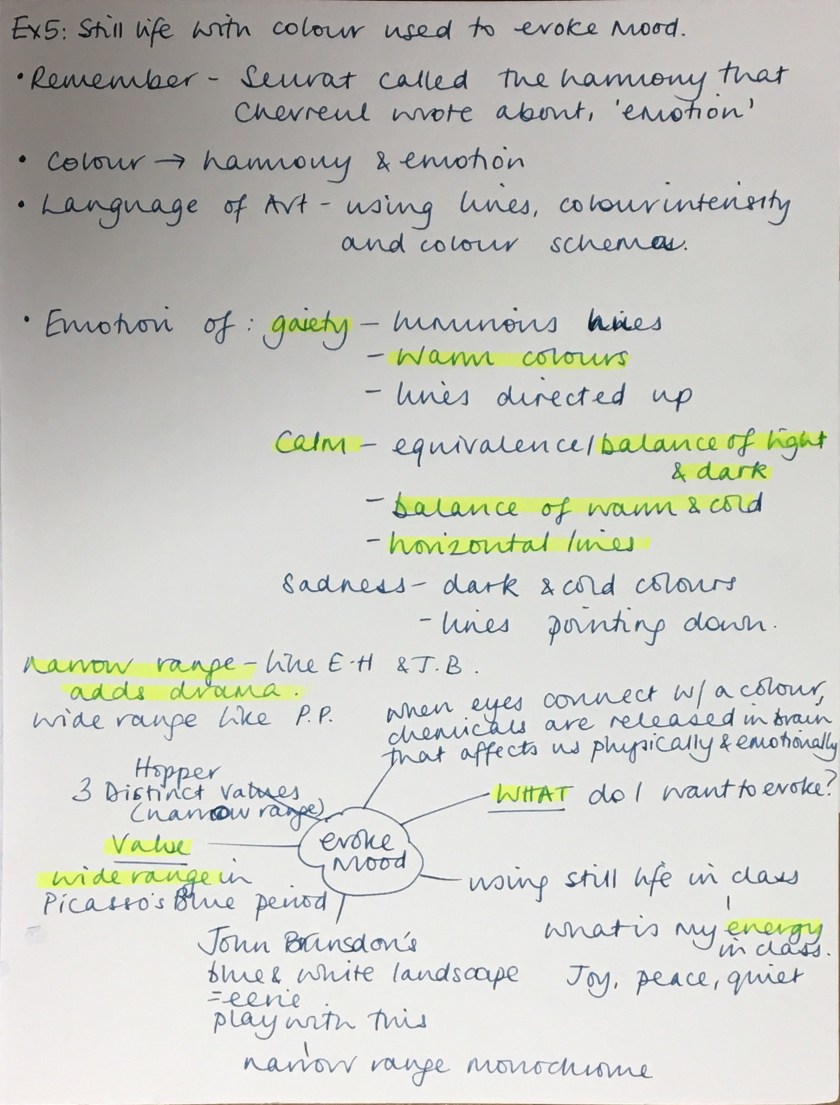
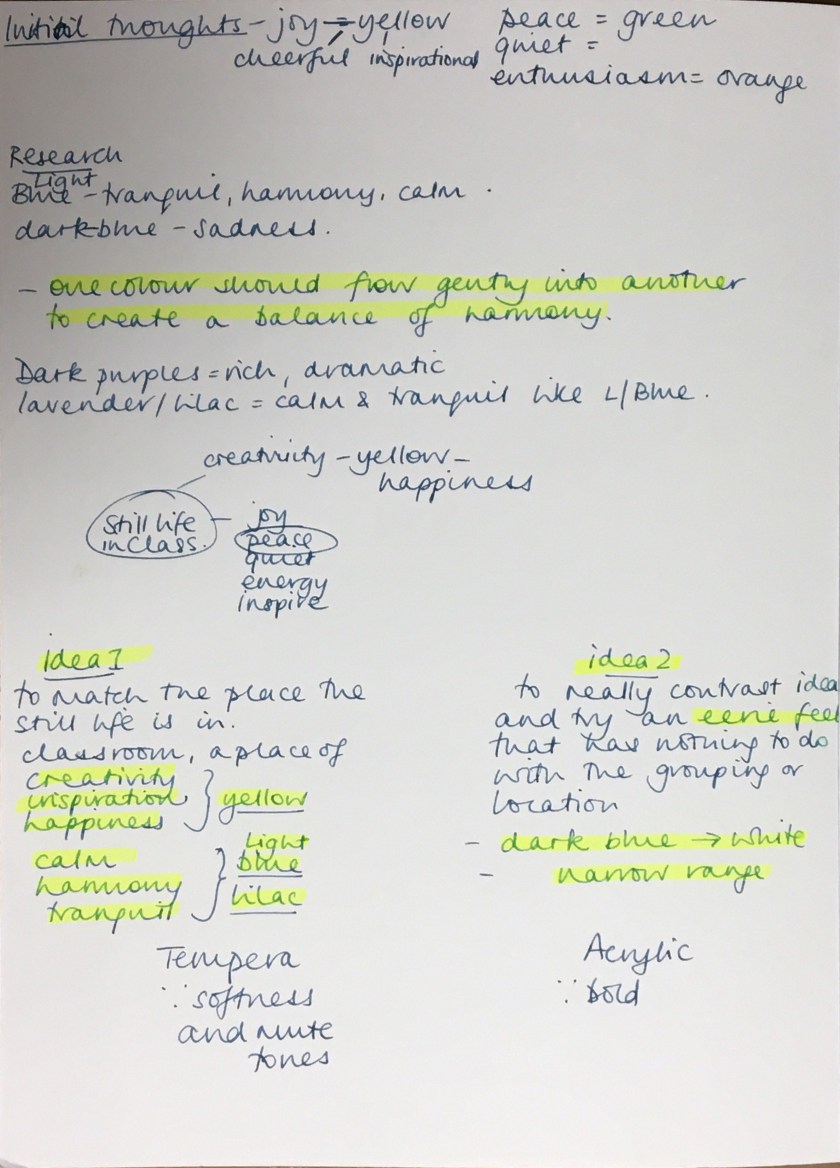
Decide what you’re trying to achieve at the outset and make some notes in your learning log.

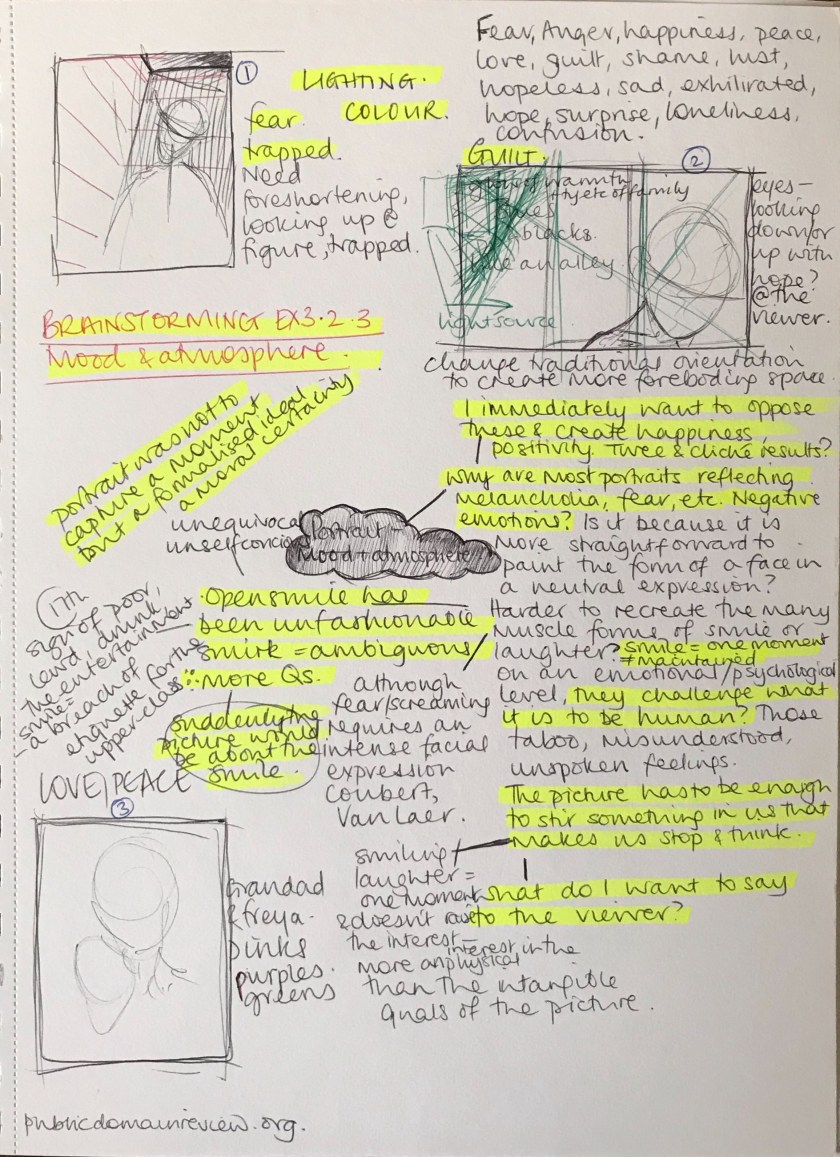
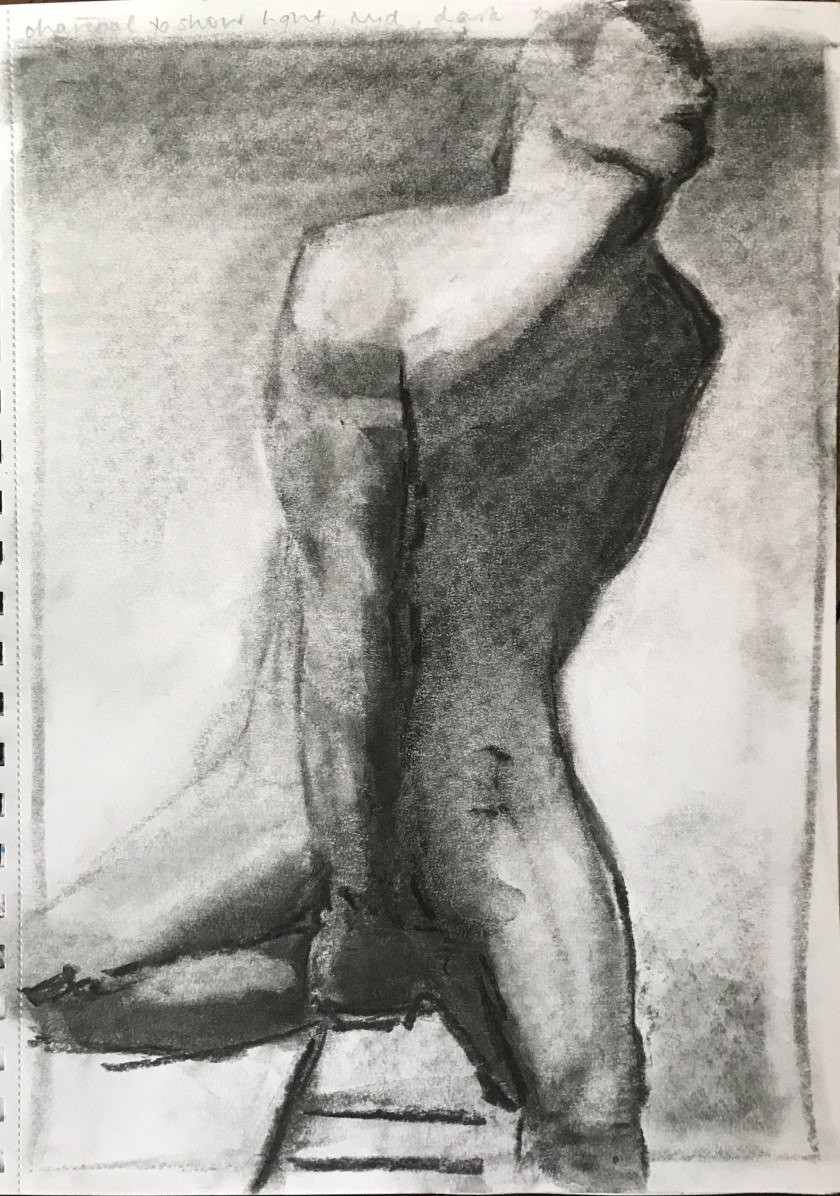
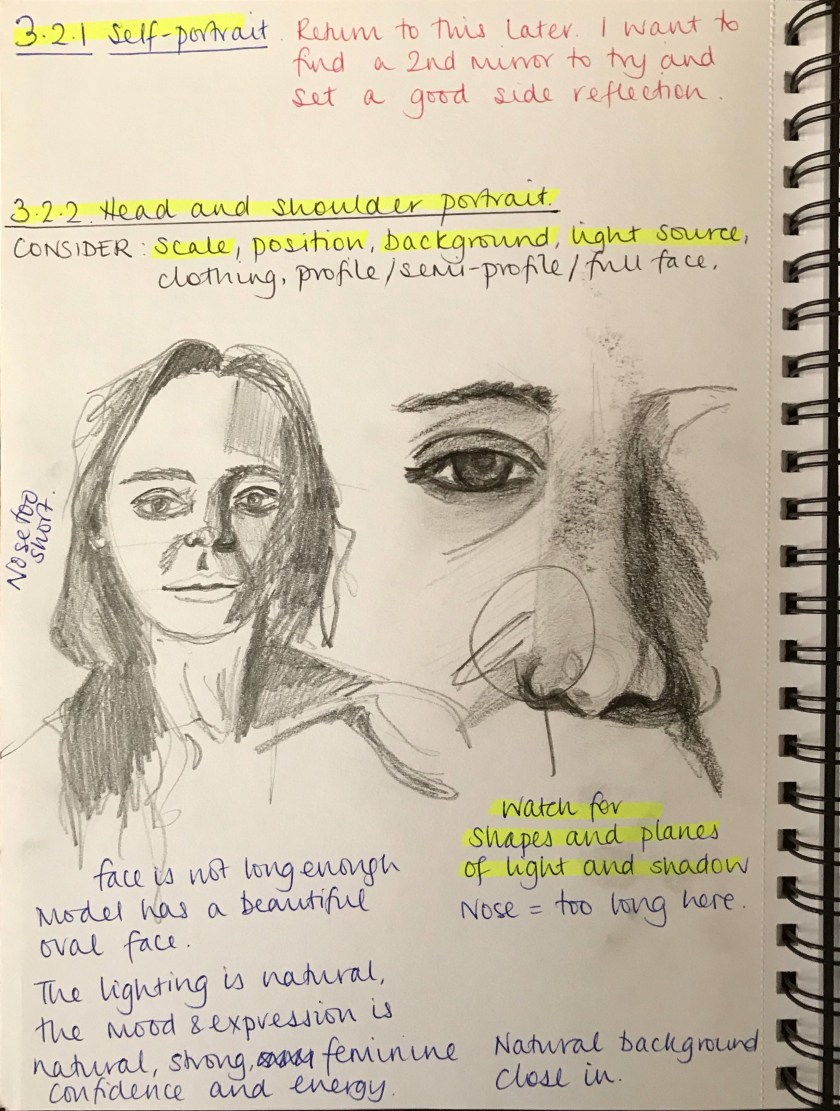
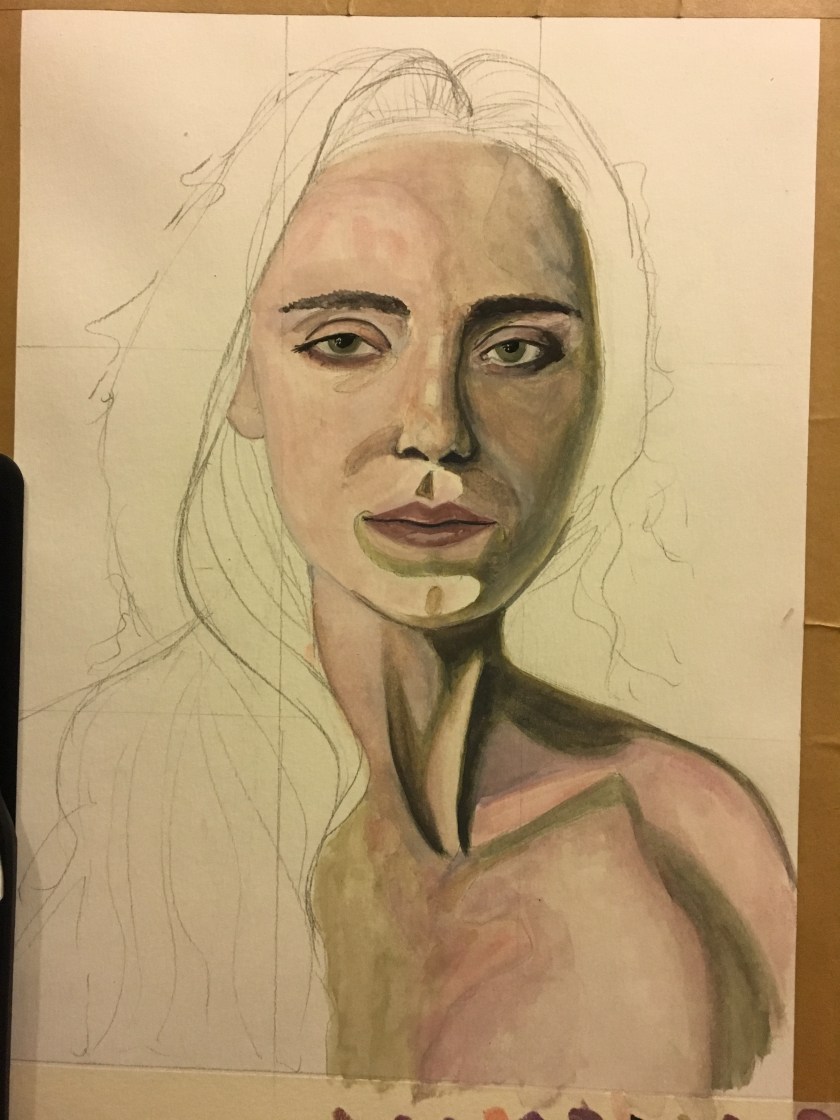
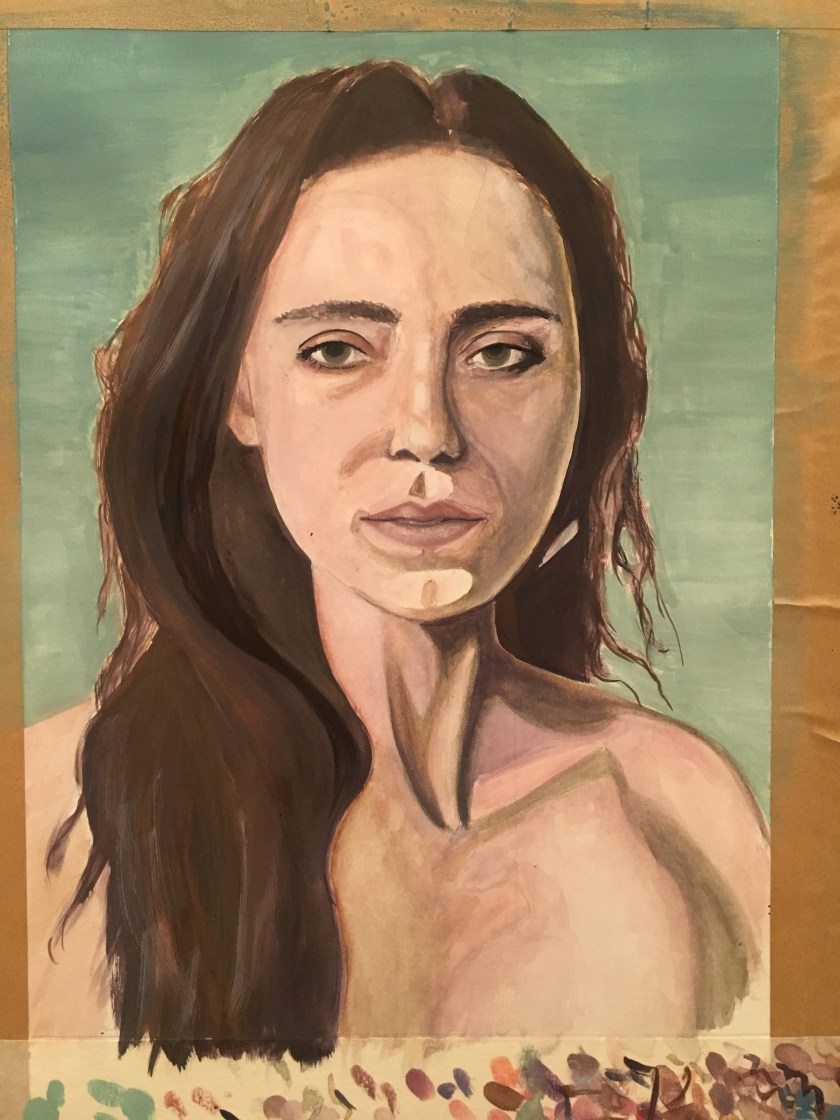
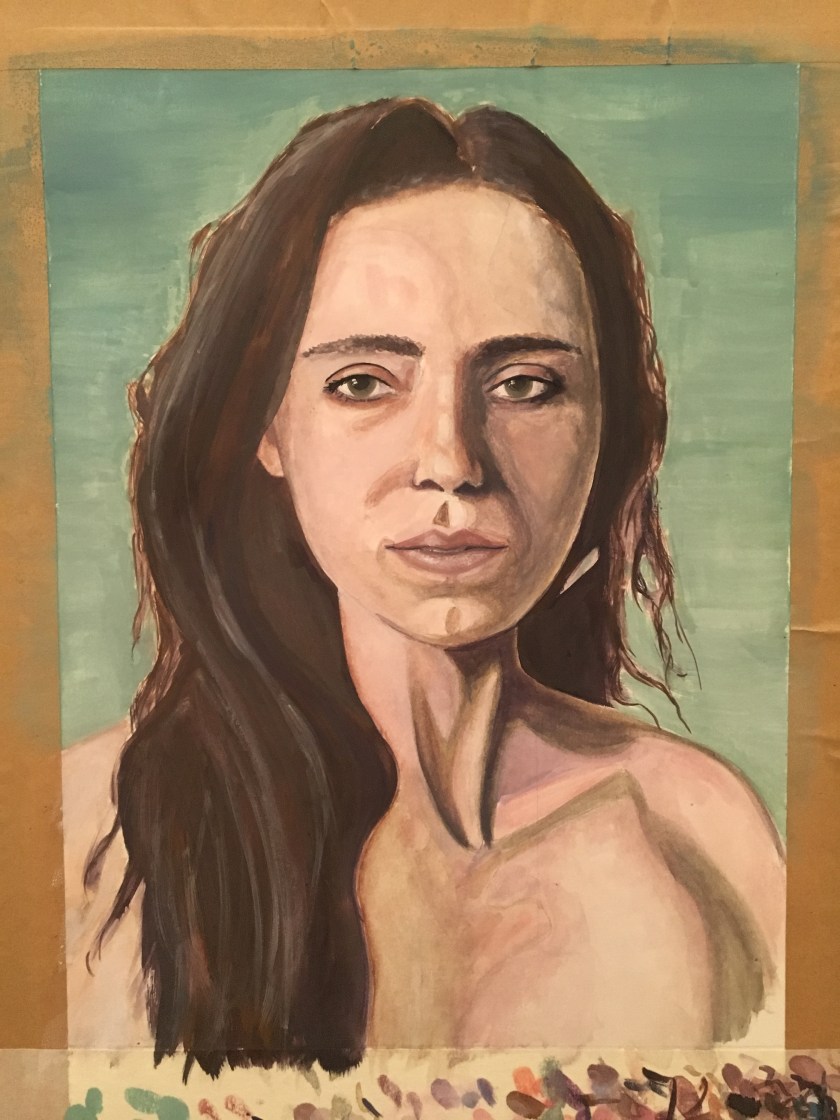
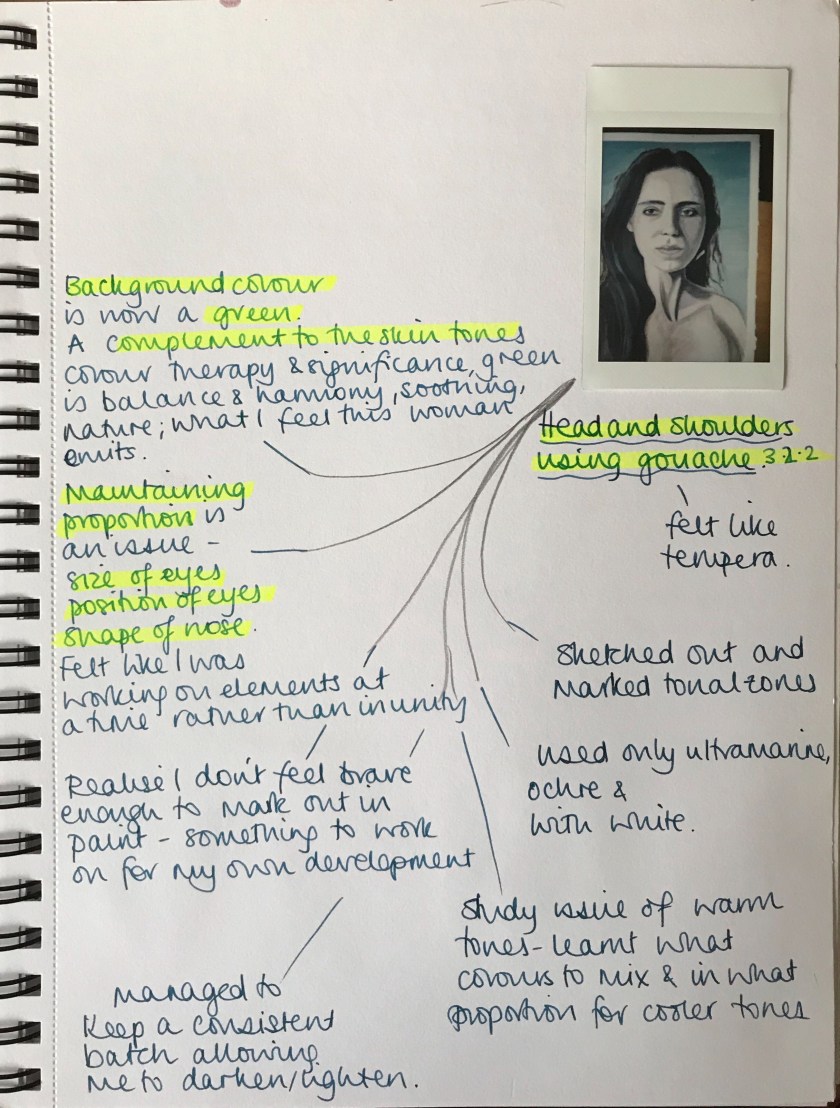
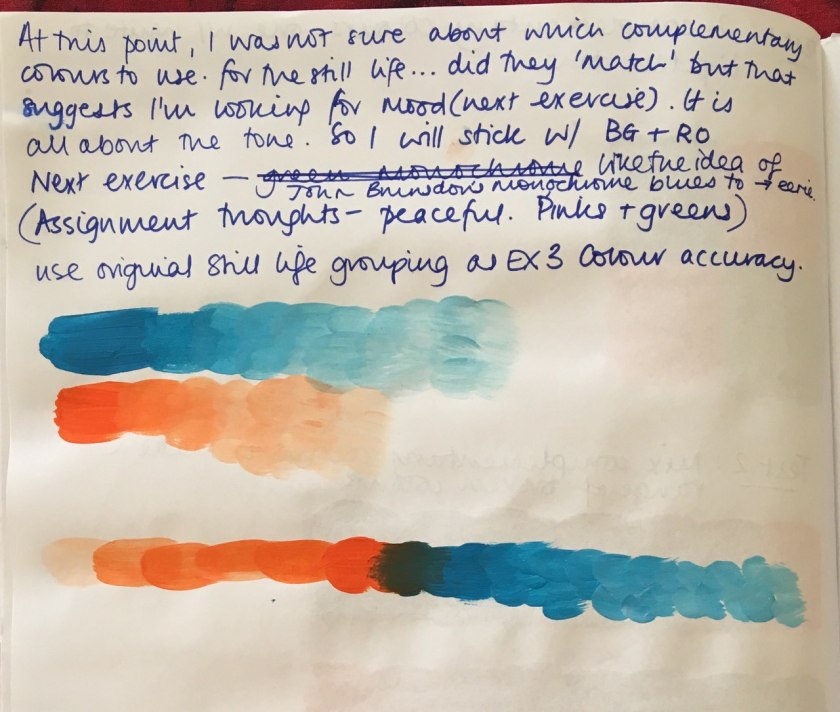
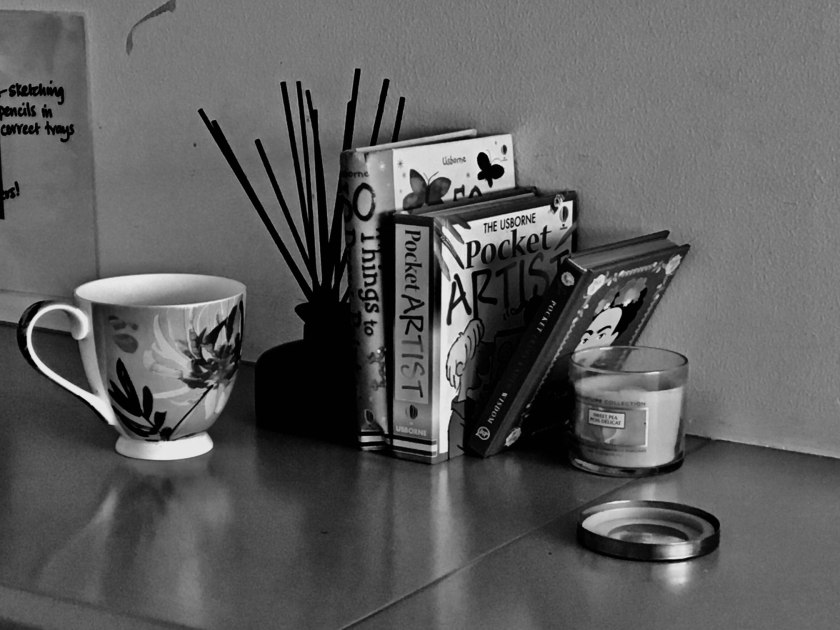
Next, decide on your light source as this will determine both the effect of solidity that you’re able to capture and convey mood and atmosphere.

Sketchbook study portrait in gouache and then charcoal.
It was easier to get the muscle definition and tone rather than paint

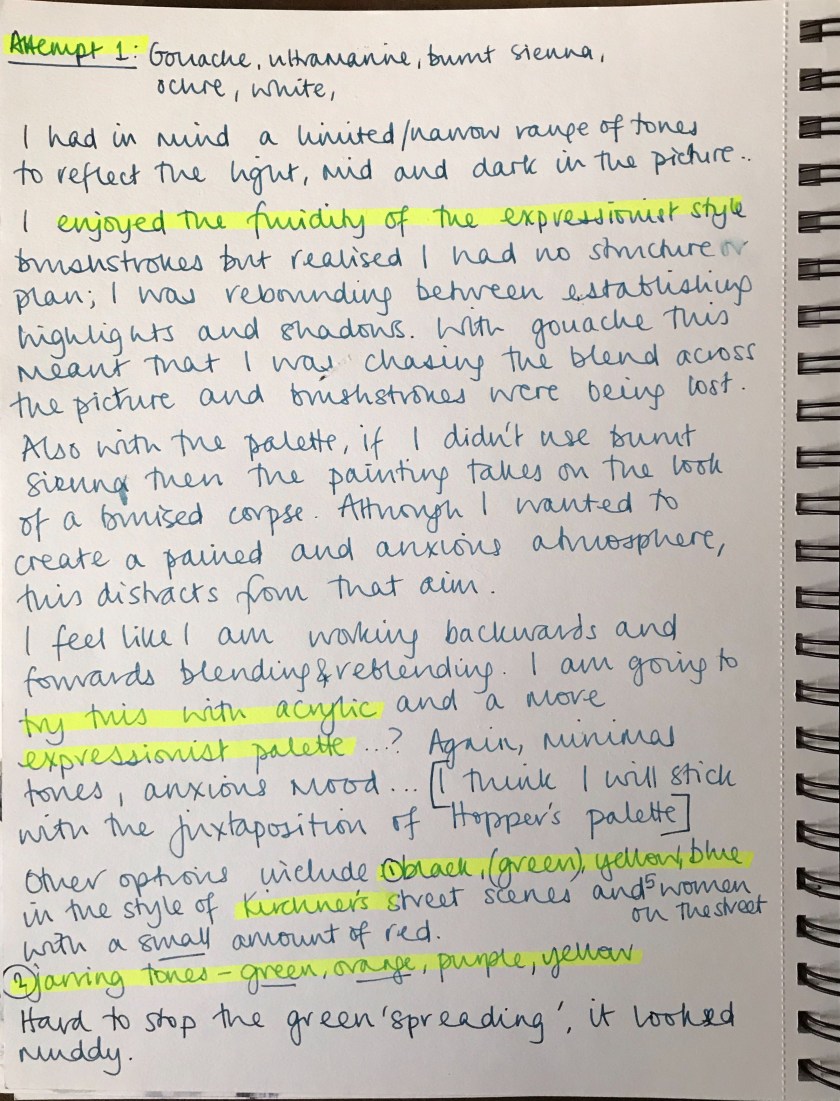
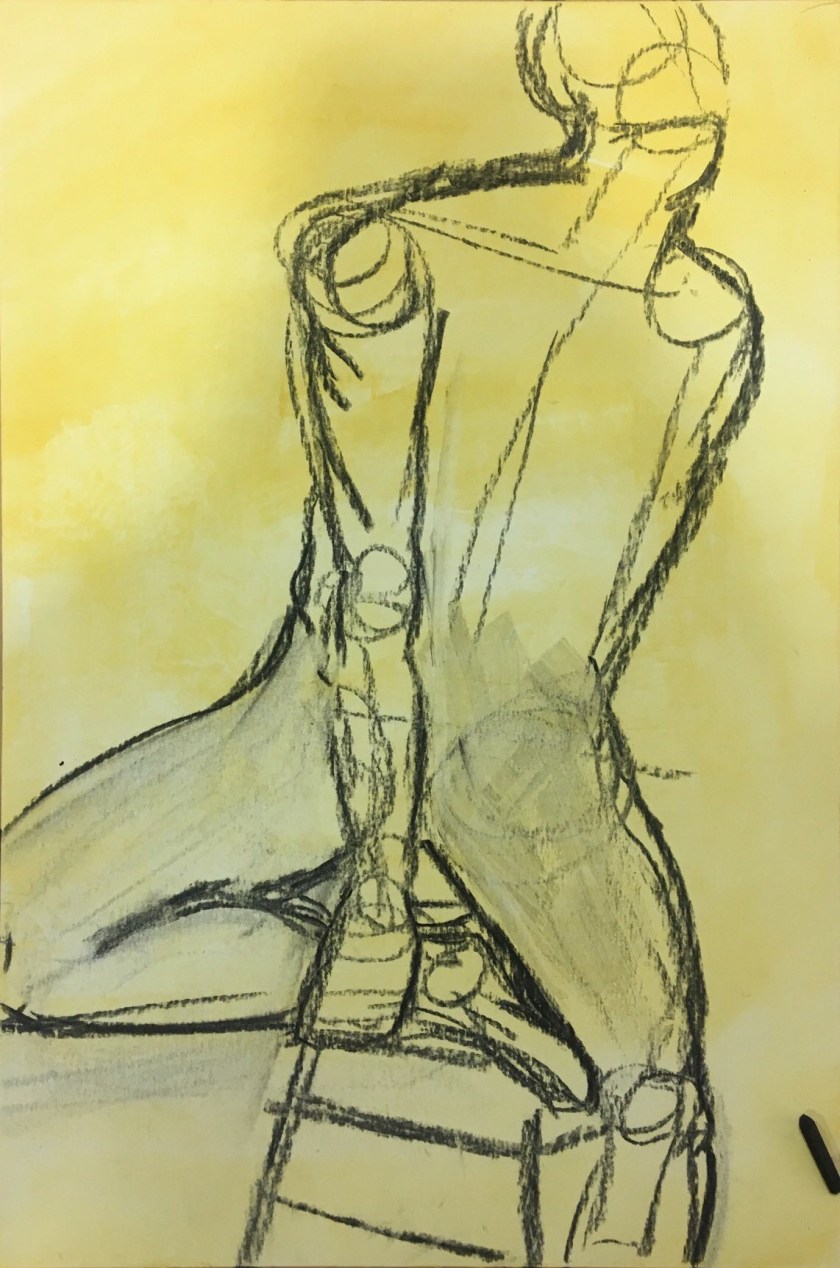
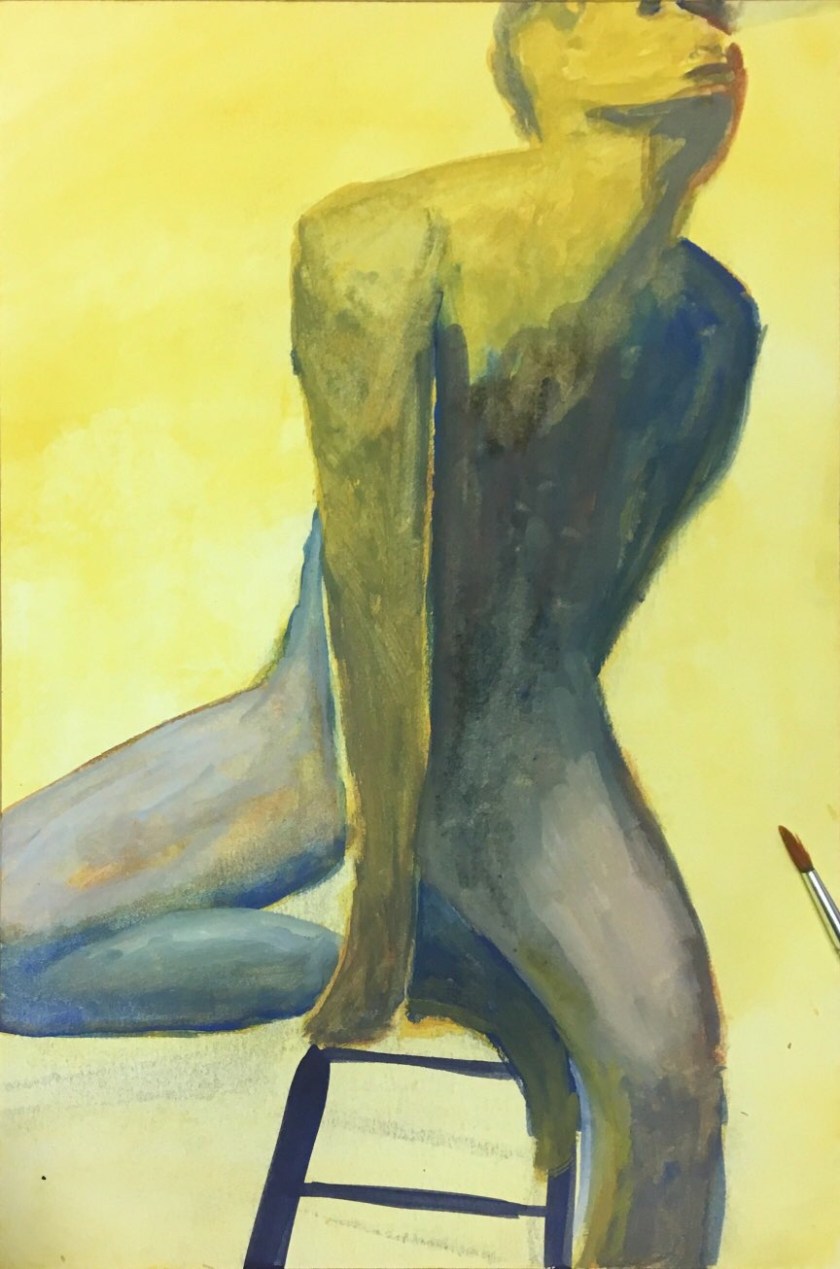
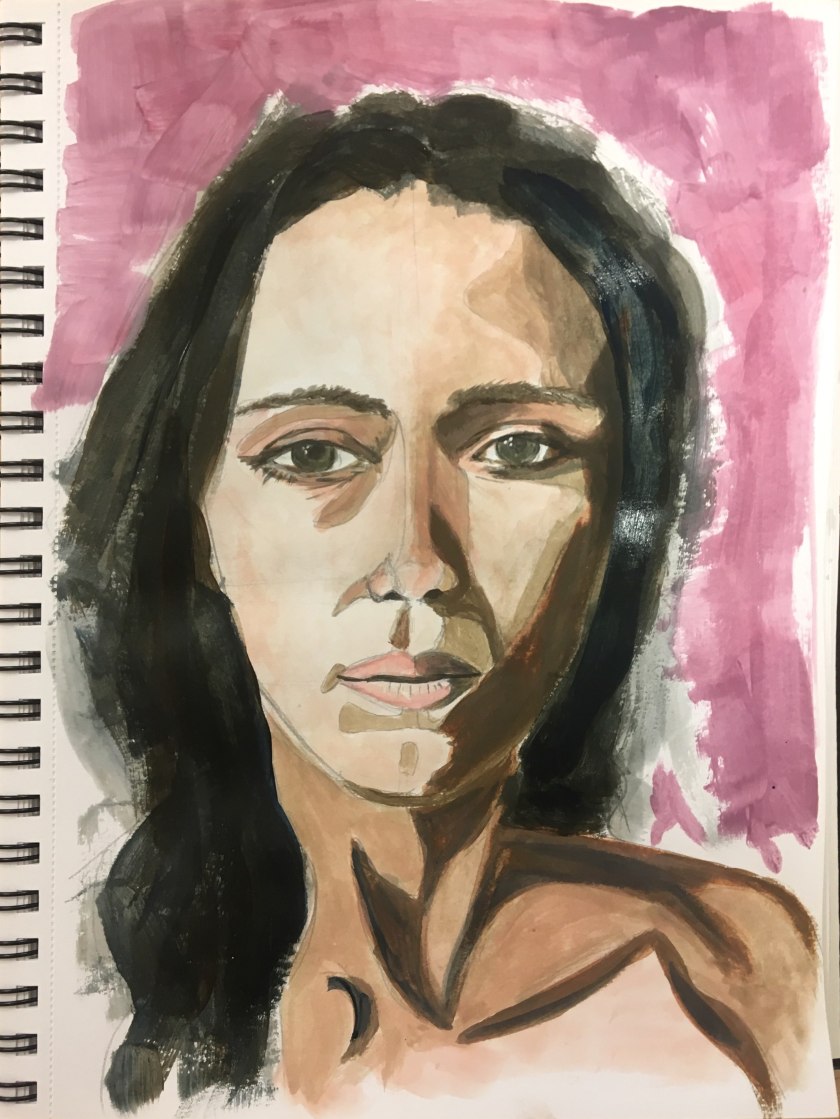
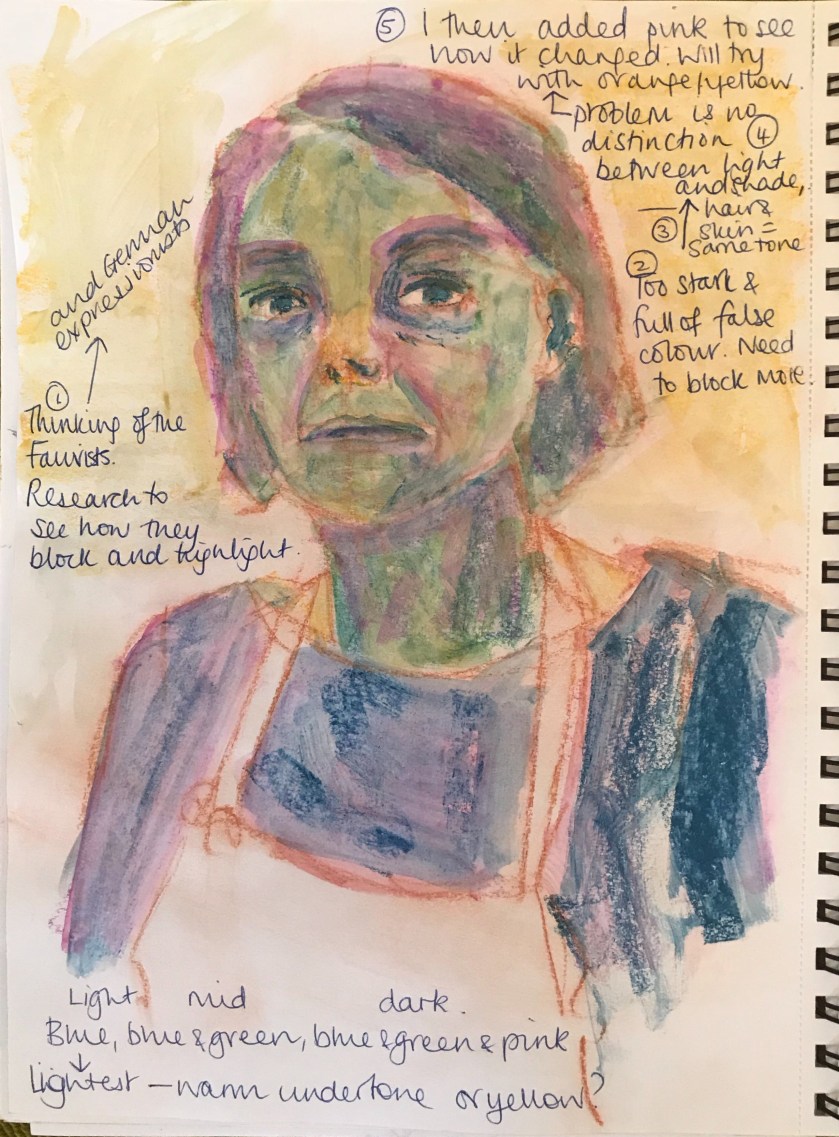
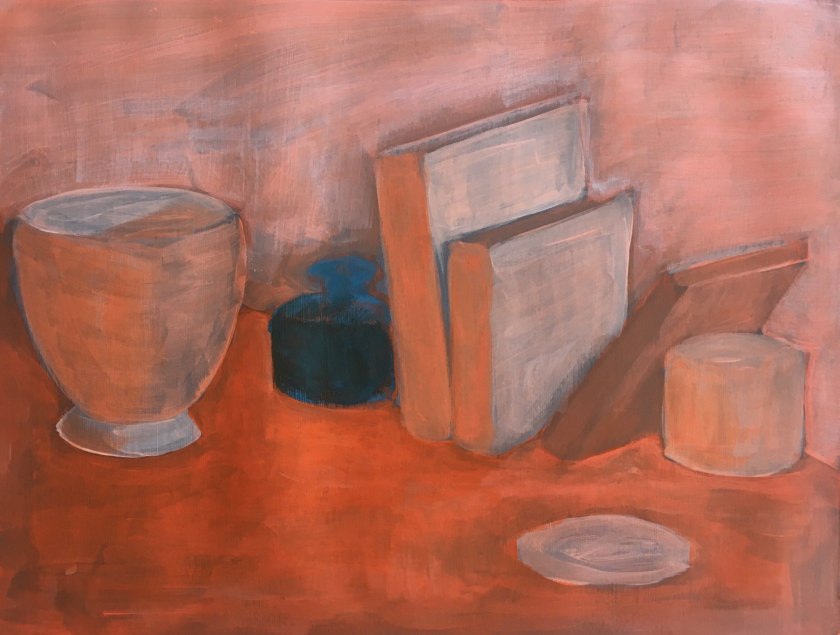
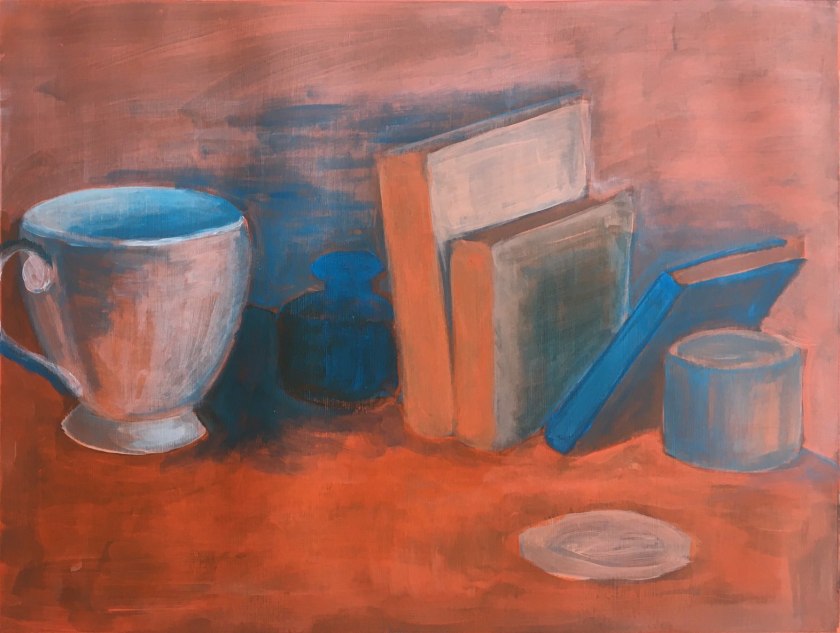
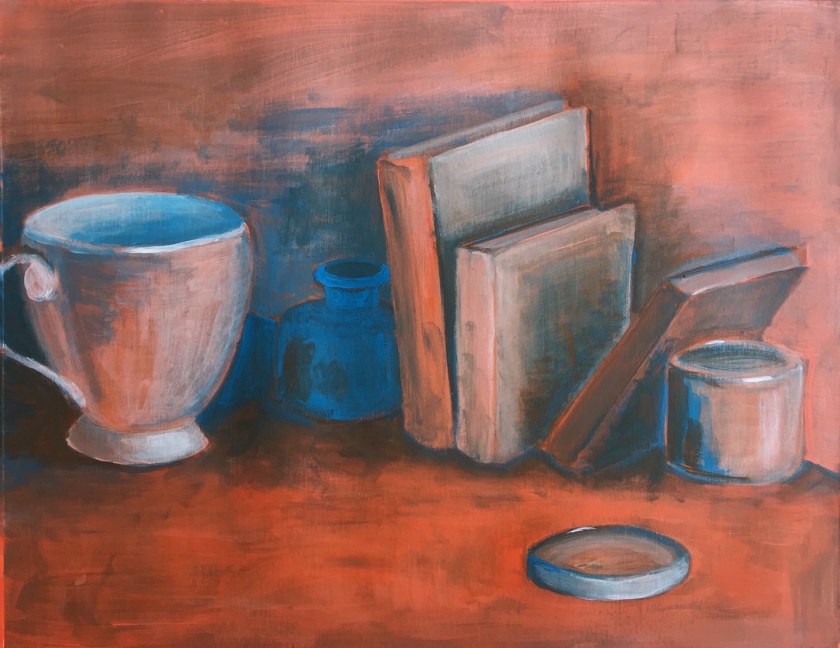
Attempt 2: Acrylic in sketchbook

2019-05-13 14-41

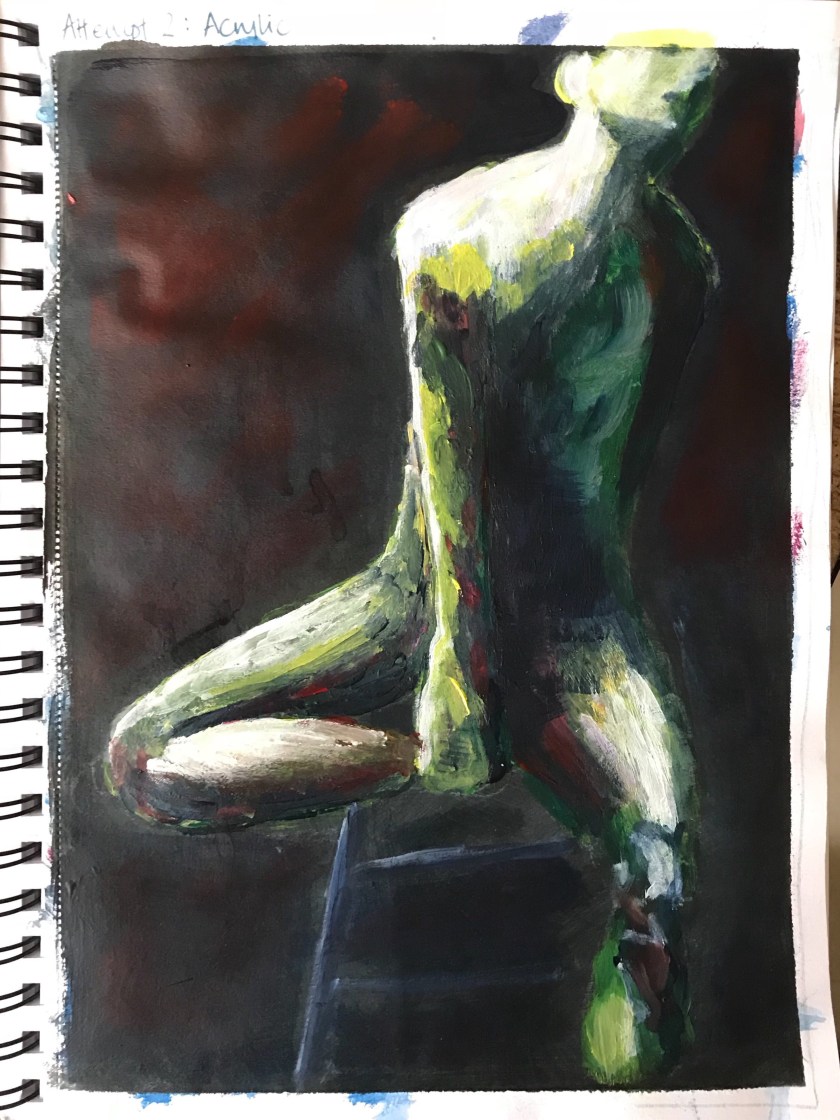
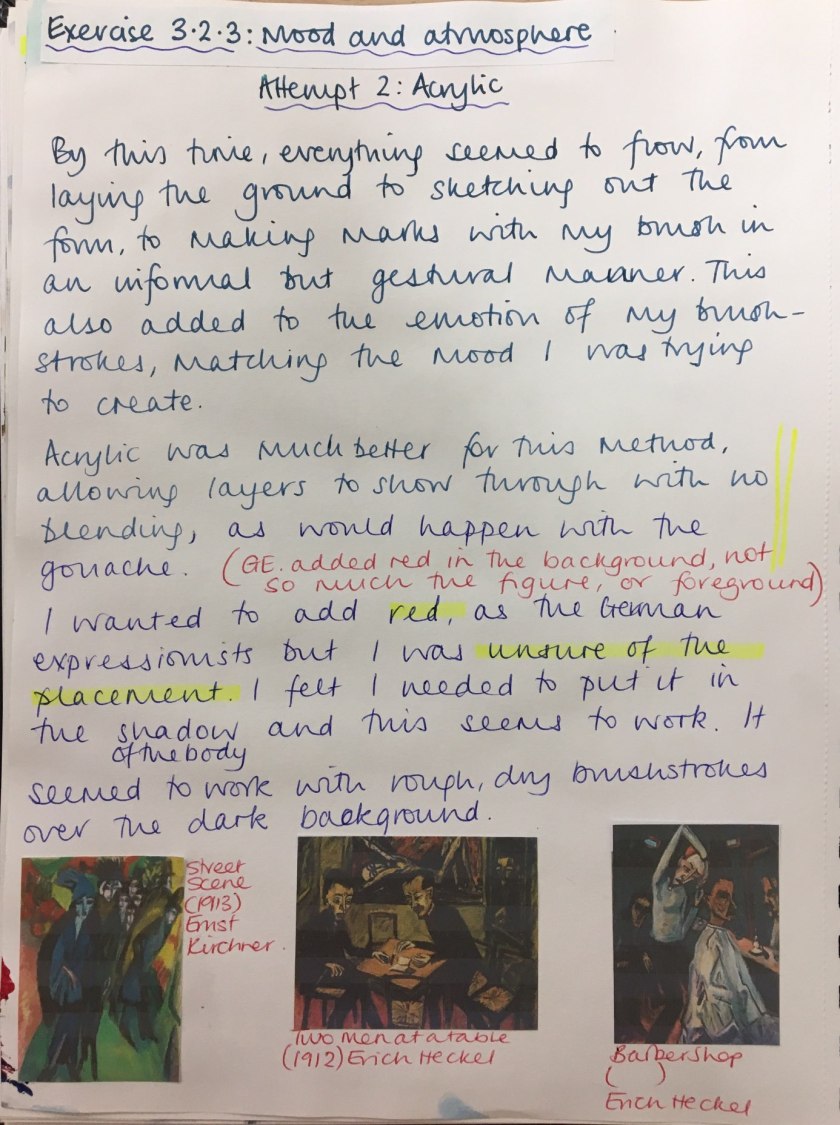
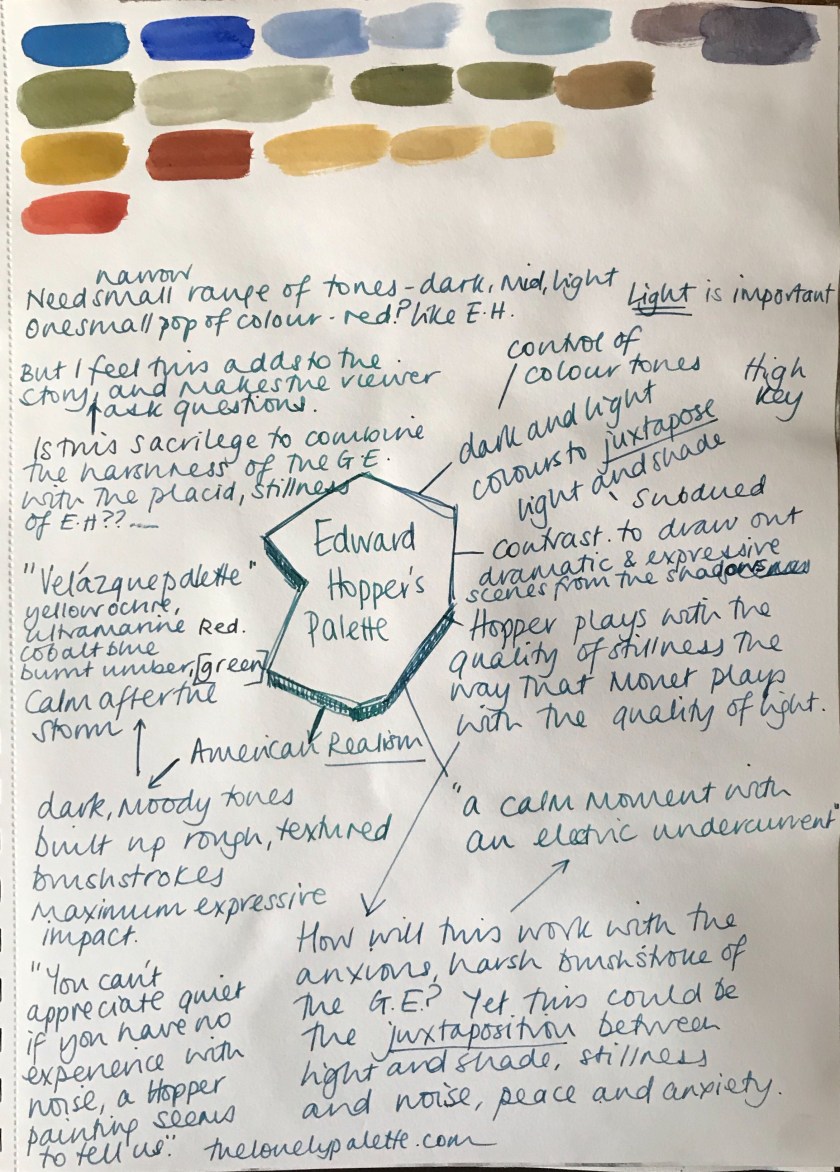
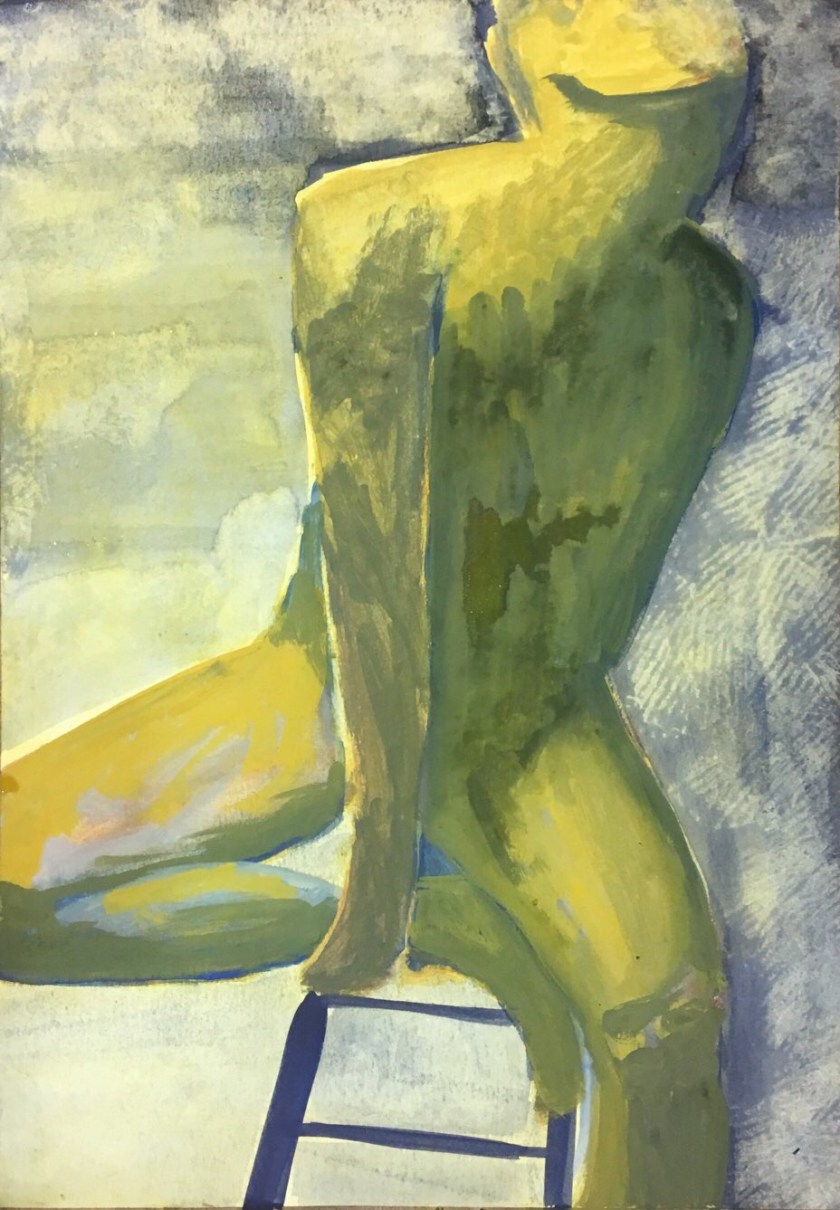
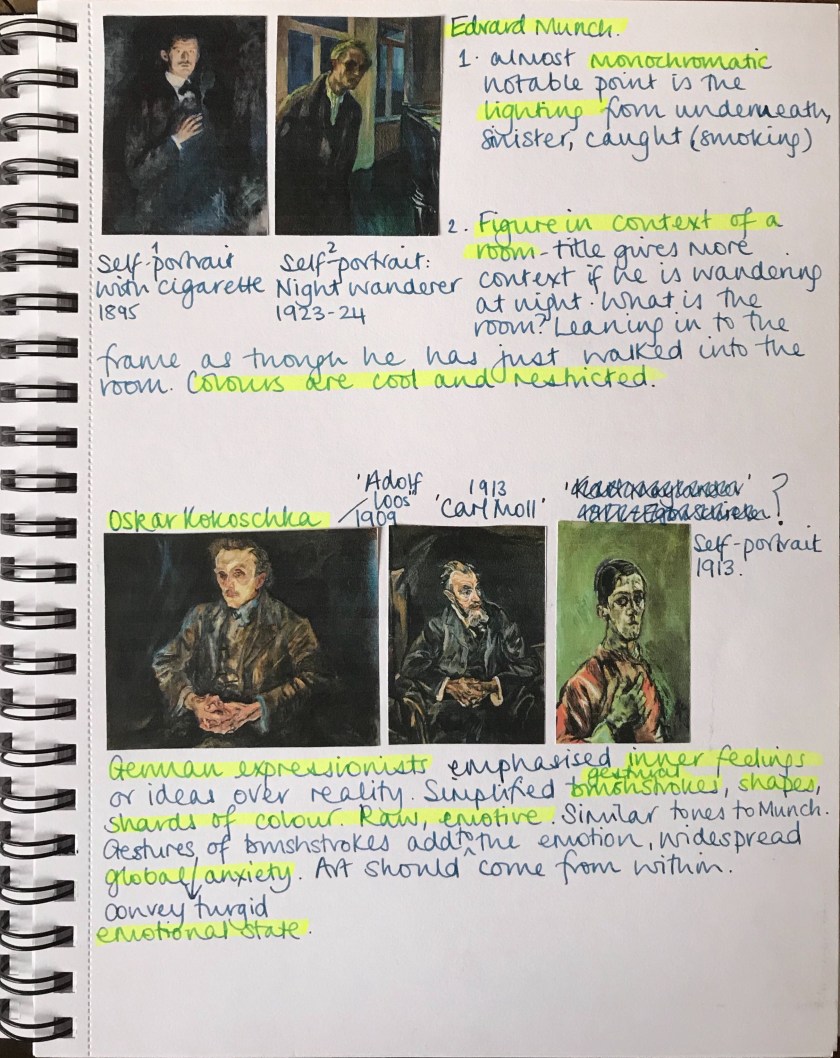
I really enjoyed the freedom of the mark making in the German Expressionist style. I understood how they sought to reflect inner feelings and emotional state through their colour choice and brushstrokes.

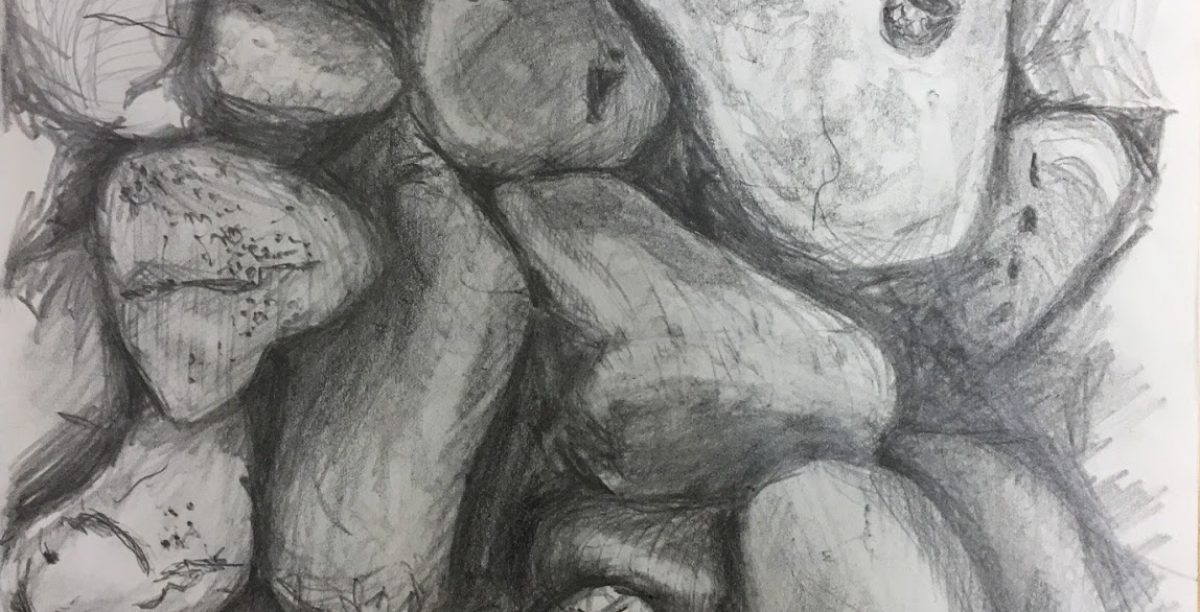
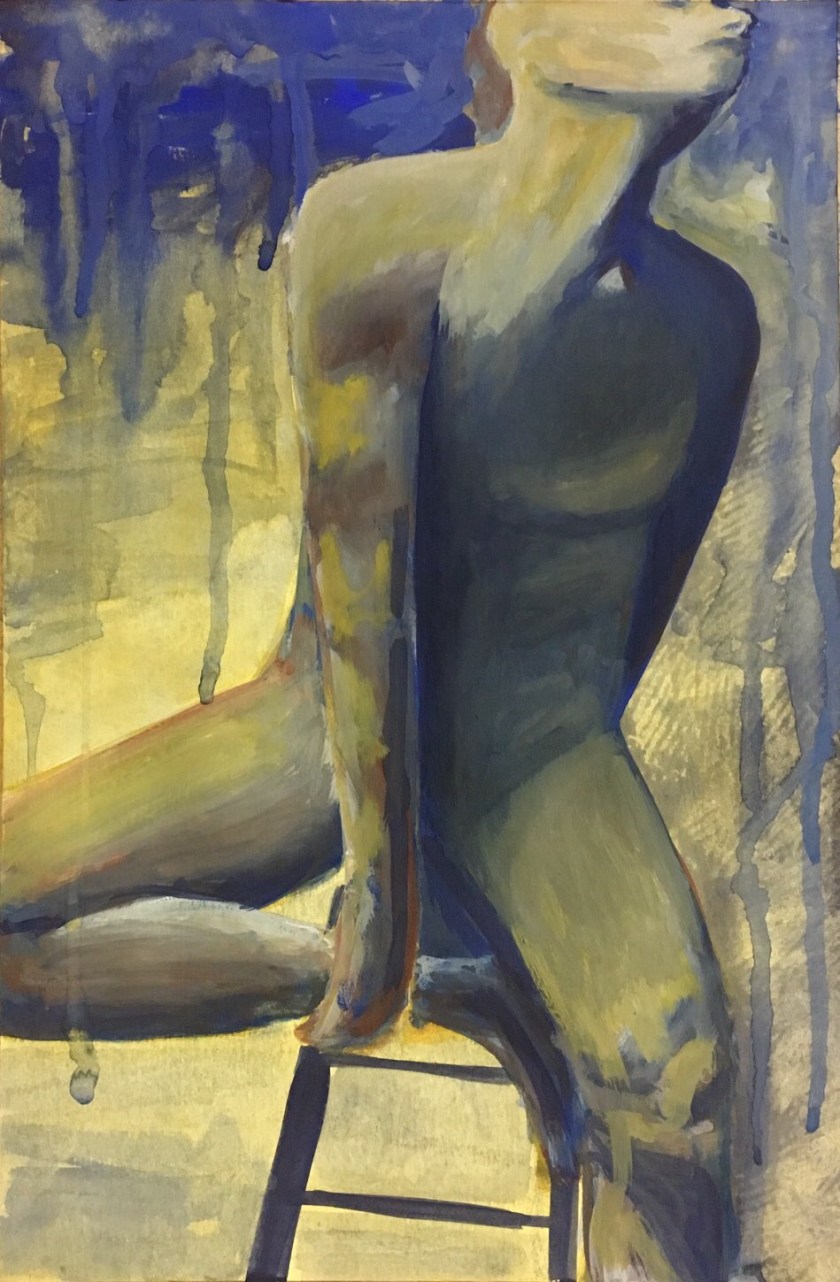
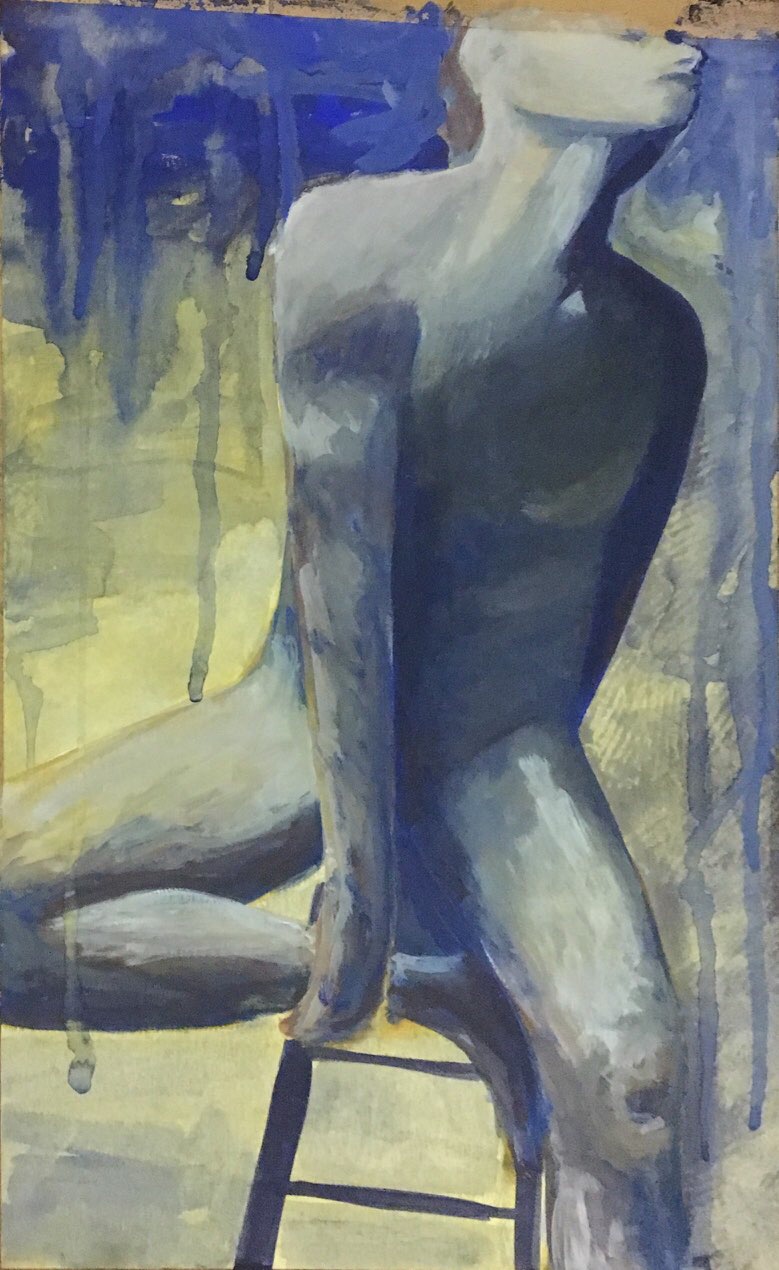
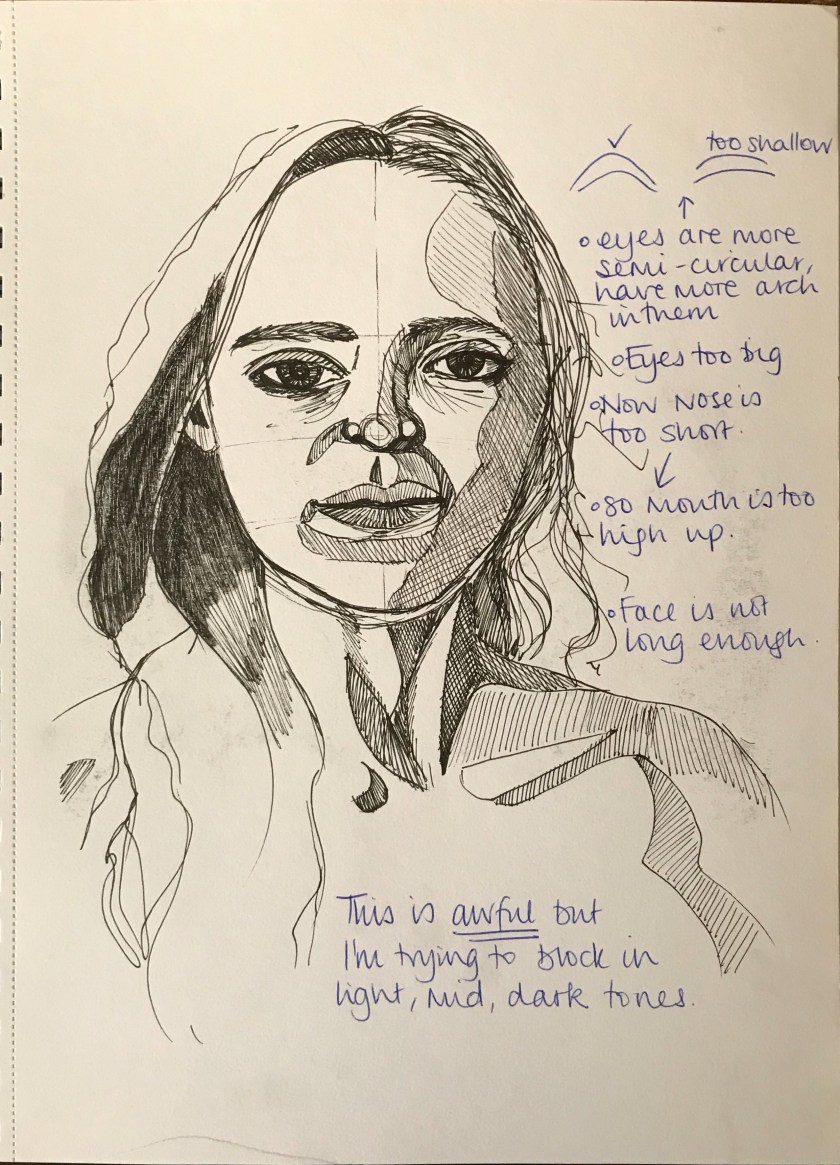
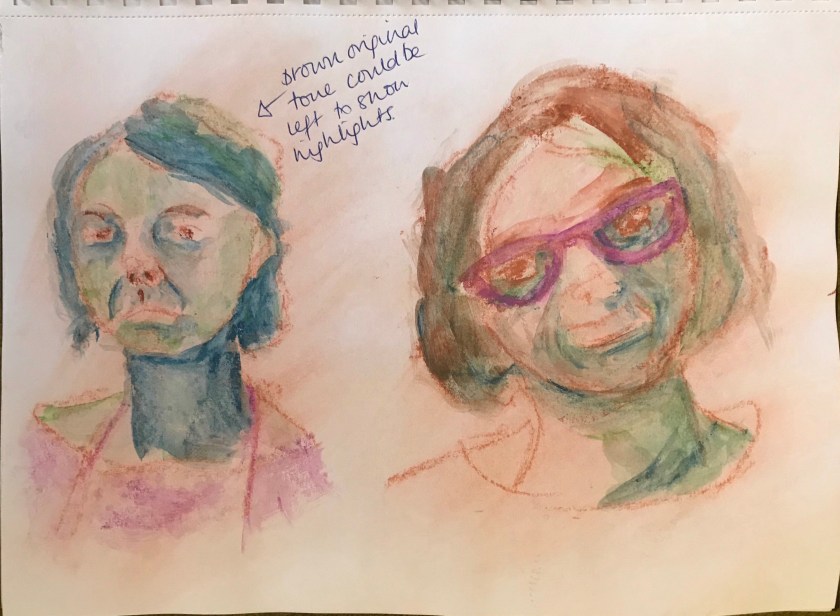
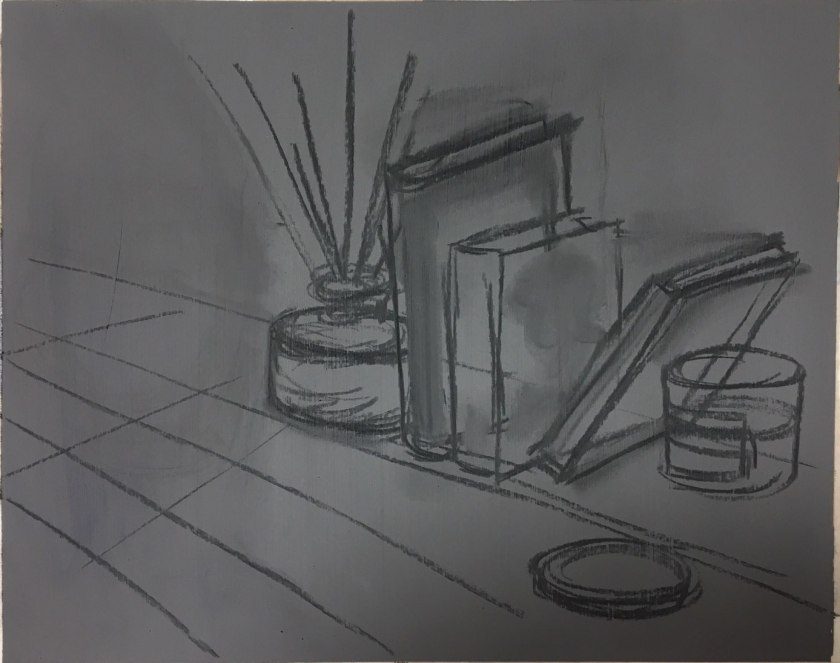
I want to know how to get that muscle definition I found using charcoal, without placing perfect brushstrokes.
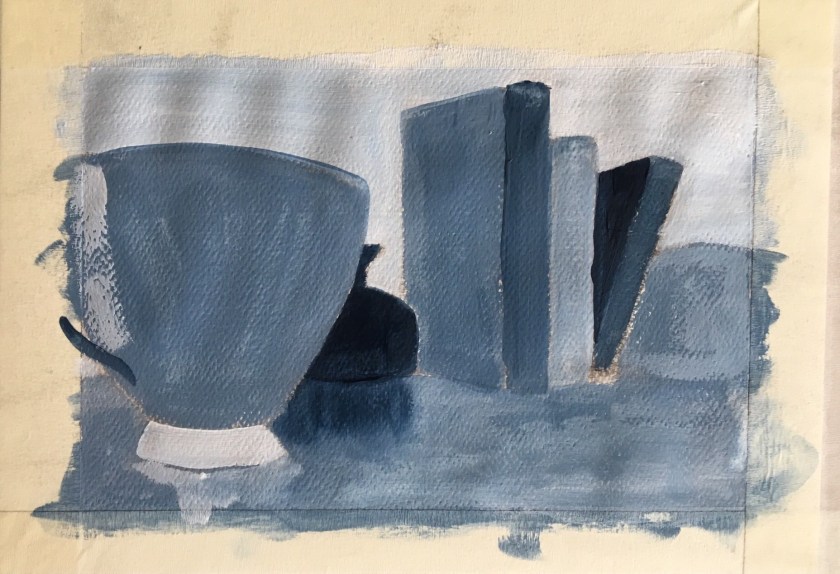
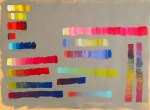
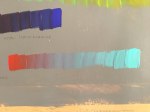
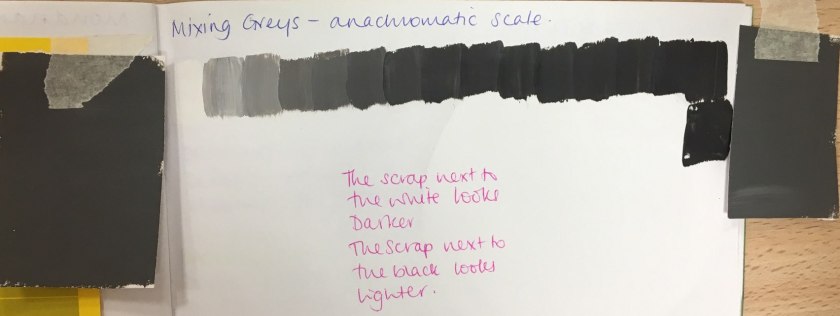
P3.2.2 – Head and Shoulder portrait

2019-04-30 13-33 page 3
Sketchbook study thinking about tonal areas

I thought I’d try out a study in my sketchbook expecting this to be the only attempt so that I could quickly move on (I have a tight schedule on this course). However, I knew I could do better and so figured it what I needed to improve and work on and then apply it to a larger attempt.

I need to work on proportion and sizing (eyes especially), making sure I vary the tones more and keeping the values consistent with an original skin tone.

2019-04-30 13-33

This marking out allowed me time to plan more areas for tonal variation. By this time I felt tuned into the subject and facial features. I noticed freckles and lines and additional shadows I hadn’t noticed before.

IMG-1332

Between sketching out and filling in with paint, the eyes had changed shape. This was frustrating. However, I was really happy with the dark and mid tones at this stage. I found myself adding detail too soon as I was desperate to see it look real for me to be happy and continue. Next time I would block it all in and then build detail in.

IMG-1335

At this point I walked away and gave it chance, taking photographs so I could assess what I needed to amend – eye shape and detail, hair tones, definition and colours. I definitely need to work on hair. I chose a bluey green to complement the skin tone but also to represent the naturalness and peace of the woman.

IMG-1342

If I was to revisit this, I would work on the centre neck sinews. There is too much contrast and it is distracting. I would work to blend the defining lines a little more.

P3.2.1 – Self-portrait

This first painted pastel study was purely experimental, and spontaneous. As I was working and choosing colour, I thought of the Fauvists and the German Expressionists. My link to research here.

In my next attempts for the exercise I will consider more what I am trying to convey, light source, different ways colours to highlight and shade according to my research and also composition and use of space.

This always happens but the one thing I was putting off actually became really enjoyable – even if it was the techniques and colour I was applying that made it so. Further practise will become preparation for my assignment 3

PoP 2.3.5 – Still life with colour to evoke mood

https://www.bourneendauctionrooms.co.uk/catalogue/lots/89FBD8D97A92BED8B2DFF647744A4C84C3CF33BCAACAD3A0BF12CC6DFA19E8FA/DF552CF371F2E3A723B4EBDB4BF38E80/antiques-collectors-sale-incorporating-wines-spirits-lot-184/?d&action=4

I’ve always liked John Brunsdon’s Pembroke II for the way he used a narrow range of tones, evoking, to me, an eerie atmosphere. When I show this to the children in my class, they mostly say they feel scared or nervous; it has a sense of foreboding. Some children feel nervous but hopeful when they think the house is a respite after being lost in the mountains. I decided to try to replicate a sinister, cold feel, just to be contrary as I always want to focus on the energy I feel when I’m painting, peace, calm…so I decided to play a bit. Same still life grouping but viewed from a different angle to generate a dominance of the objects.

I took on board the ‘language’ that Chevreul and Seurat, where sadness or other negative emotions could be interpreted through dark and cold colours with lines pointing down. With the latter, there are no obvious lines to point down but I found I was brushing in a downward direction, maybe subconsciously taking on this language.

(I need to be aware of white balance affecting tone when taking photographs of my work. The first photograph is truest to colour).

PoP 2.3.4 – Still life with complementary colours

2019-03-26 15-19 page 6

2019-03-26 15-19 page 7

2019-03-26 15-19 page 8
These were my initial colours to play with but I anticipated difficulty in creating a consistent starting colour every time.
2019-03-26 15-19
I decided to work with Brilliant Blue and Vermillion out of the tube for consistency
2019-03-26 15-19 page 6
I initially found this concept hard to imagine so I tried it out in coloured pencils. This did help me especially where to combine the hues if to create shadow, where to lift tones for lighter values. It didn’t really help me think where to use which hue and its appropriate tone. At this stage RO was for lighter tones and BG was for darker tones in the objects.
2019-03-26 15-19 page 5
Black and white helped me establish the levels.
2019-03-26 15-19 page 4
Perspective lines
2019-03-26 15-19 page 3
Building up and lowering the values. I was starting to see how this works, especially in the darker shadowy areas.
2019-03-26 15-19 page 2
The blue became functional only in the creating of shadows where it was combined with vermillion.
2019-03-26 15-19 page 1
The dark glass bottle was tricky but I feel it needed the blue to dominant as an object rather than combine to make a shadow tone.

If I continued working on this exercise:

  • The surface was too vibrant and needed work to reduce its chroma. It is too high-key against the rest of the picture.
  • Create shadows around the jar lid
  • Experiment with creating the dark blue bottle in shadow. How would I combine colours to do this?
  • Keep the fluidity of my work pace. I was loose and relaxed and this allowed brushstrokes to remain and add atmosphere.

PoP P2.2.2 – Still Life with Flowers

Acrylic on mixed media paper

It was at this point that I felt the composition was flat in regards to depth. The vase was against the wall. It’s placement was nothing more than lack of creativity. It occurred to me to try and created the depth that could exist in a different placement of the vase and also to create more interest in the pictures composition.

I worked on pencilling in the new composition with the vase being moved forward. I’m glad I did this as I would have thought the flowers would change perspective and position but they merely changed size with little significant change with their placement ‘on’ the wall.

I realised I was spending too much time on this considering this was an exercise only. It’s something I may develop in the assignment.

PoP Research 2 – 17th Century Still Life

Project 2 is all about developing observational and technical skills by focusing in the still life genre. The exercises create a framework within which the choice of subject, colours and paint is free to me.

Drawing is essential to painting; it enables graphic and interpretative skills to be developed by using observational drawing to develop into painting.

The following research has helped me to tune into possible composition and symbolism but also the technical grace that is possible and is so distinctive of this 17th century Dutch still life artists.

Background

The Dutch Golden Age coincided with stability and wealth in the newly independent Dutch republic. Still life arose through a shift away from classical and religious subject matter to genres more suitable for the homes of the newly wealthy. This was the  shift to Calvinism. These pieces were not just technical exercises  – they were also of an underlying significance, maybe to the role or status of the person commissioning the work. ICONOGRAPHY. VANITAS paintings.

They pushed painting to new boundaries in their rendering of light on and through glass in exploring colour, texture and tonal arrangements.

They also created a hierarchy of genres – that some painting types were more prestigious than others:

  1. History painting
  2. Portrait
  3. Scenes of everyday life
  4. Landscape, seascape etc
  5. Still life. It was less important because they only seemed to copy how things looked BUT there is often more to them than meets the eye.

Research Point 2 – Consider the techniques of the 17th century Dutch still life and flower painters. Research a painting with iconic significance. What has been the development of still life through the following centuries including contemporary artists?

2019-03-10 14-04 page 92019-03-10 14-04 page 10

2019-03-10 14-04 page 11
Analysis of Rachel Ruysch’s ‘Still Life with flowers in a glass vase’ (1716). Oil on canvas.
2019-03-10 14-04 page 12
Analysis of Harmen Steenwyck’s ‘Still Life: An Allegoru of the Vanities of Human Life’ (1640)

2019-03-10 14-04 page 132019-03-10 14-04 page 142019-03-10 14-04 page 15


Design a site like this with WordPress.com
Get started